CSS Tabs without borders · GitHub
| // HTML | |
| <article> | |
| <div> | |
| <input type=»radio» name=»css-tabs» checked> | |
| <label for=»tab-1″>Текст</label> | |
| <div> | |
| <div> | |
| <div> | |
<p>Главные героини сериала Absolutely Fabulous (“Абсолютно невероятно”) – две подруги, которые отказываются стареть. Они курят, пьют, употребляют наркотики – морально разлагаются всеми возможными способами, как в молодости. | |
| <p>Эдина Монсун – специалист по пиару. Ее играет актриса Дженнифер Сондерс, написавшая сценарий этого сериала на основе скетча “Современные мать и дочь”, который Сондерс и актриса Дон Френч сняли в 1990 г.</p> | |
| <p>Эдина дважды была замужем. Вместе с ней живет ее дочь Саффрон (Джулия Савала) – абсолютно нормальный ребенок, который хорошо учится в школе и заботится о маме. Подругу Эдины – редактора модного журнала Пэтси Стоун – играет актриса Джоанна Ламли.</p> | |
| <p>Сериал снимался в 1992-95, 2001-04 и 2011-12 гг. В июле этого года должен выйти полнометражный фильм.</p> | |
| </div> | |
| <div> | |
| <div> | |
| <div> | |
<img src=»img/abfab_lumley300. jpg» alt=»Joanna Lumley»> jpg» alt=»Joanna Lumley»> | |
| </div> | |
| <div> | |
| <h6>Джоанна<br>Ламли</h6> | |
| <img src=»img/ukflaground.svg» alt=»British flag»> | |
| </div> | |
| </div> | |
| <div> | |
| <img src=»img/abfab_saunders300.jpg» alt=»Jennifer Saunders»> | |
| </div> | |
| <div> | |
| <h6>Дженнифер<br>Сондерс</h6> | |
<img src=»img/ukflaground. svg» alt=»British flag»> svg» alt=»British flag»> | |
| </div> | |
| <div> | |
| <div> | |
| <img src=»img/abfab_sawalha300.jpg» alt=»Julia Sawalha»> | |
| </div> | |
| <div> | |
| <h6>Джулия<br>Савала</h6> | |
| <img src=»img/ukflaground.svg» alt=»British flag»> | |
| </div> | |
| </div> | |
| </div> | |
| </div> | |
| </div> | |
| </div> | |
| </div> | |
| <div> | |
| <input type=»radio» name=»css-tabs»> | |
| <label for=»tab-2″>Видео</label> | |
| <div> | |
| <div> | |
<iframe src=»https://www. youtube.com/embed/ZAfmM06pVUw» frameborder=»0″ allowfullscreen></iframe> youtube.com/embed/ZAfmM06pVUw» frameborder=»0″ allowfullscreen></iframe> | |
| </div> | |
| </div> | |
| </div> | |
| </article> | |
| // CSS | |
| @media #{$mq-xxsmall} | |
| .tabs | |
| display: block | |
| position: relative | |
| &::before | |
| content: «» | |
| display: table | |
| &::after | |
| content: «» | |
| display: table | |
| clear: both | |
. tab tab | |
| float: none | |
| .tab-switch | |
| display: none | |
| .tab-label | |
| color: $red | |
| cursor: pointer | |
| display: block | |
| height: 3rem | |
| font-family: RobotoBold | |
| letter-spacing: rem(.6) | |
| line-height: 3rem | |
| margin: 0 rem(5) | |
| padding: 0 rem(8) | |
| position: relative | |
| top: 0 | |
| +transition(all 200) | |
| &:hover | |
| color: $blue | |
| +transition(all 200) | |
. tab-content tab-content | |
| color: $smoke | |
| height: 0 | |
| left: 0 | |
| line-height: 1.5 | |
| opacity: 0 | |
| overflow: hidden | |
| width: 100% | |
| z-index: 1 | |
| .tab-switch:checked + | |
| .tab-label | |
| border-bottom: none | |
| z-index: 1 | |
label + .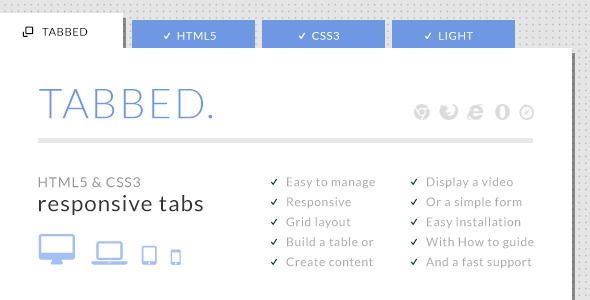 tab-content tab-content | |
| height: auto | |
| opacity: 1 | |
| padding: rem(10) | |
| z-index: 2 | |
| @media #{$mq-xsmall} | |
| @media #{$mq-small} | |
| .tabs | |
| padding-bottom: 18% | |
| .tab | |
| float: left | |
. tab-switch:checked + tab-switch:checked + | |
| label + .tab-content | |
| padding: none | |
| .tab-label | |
| margin: 0 rem(5) | |
| .tab-content | |
| left: 0 | |
| opacity: 0 | |
| padding: rem(10) | |
| position: absolute | |
| .tab-content-text | |
| +align-items(center) | |
| +display(flex) | |
| +flex-wrap(nowrap) | |
. tab-text tab-text | |
| border-right: rem(2) $blue solid | |
| padding-right: rem(10) | |
| width: 80% | |
| .tab-images | |
| +align-items(center) | |
| +display(flex) | |
| +flex-direction(column) | |
| +justify-content(space-between) | |
| margin-left: rem(10) | |
| +perspective(700) | |
| width: 20% |
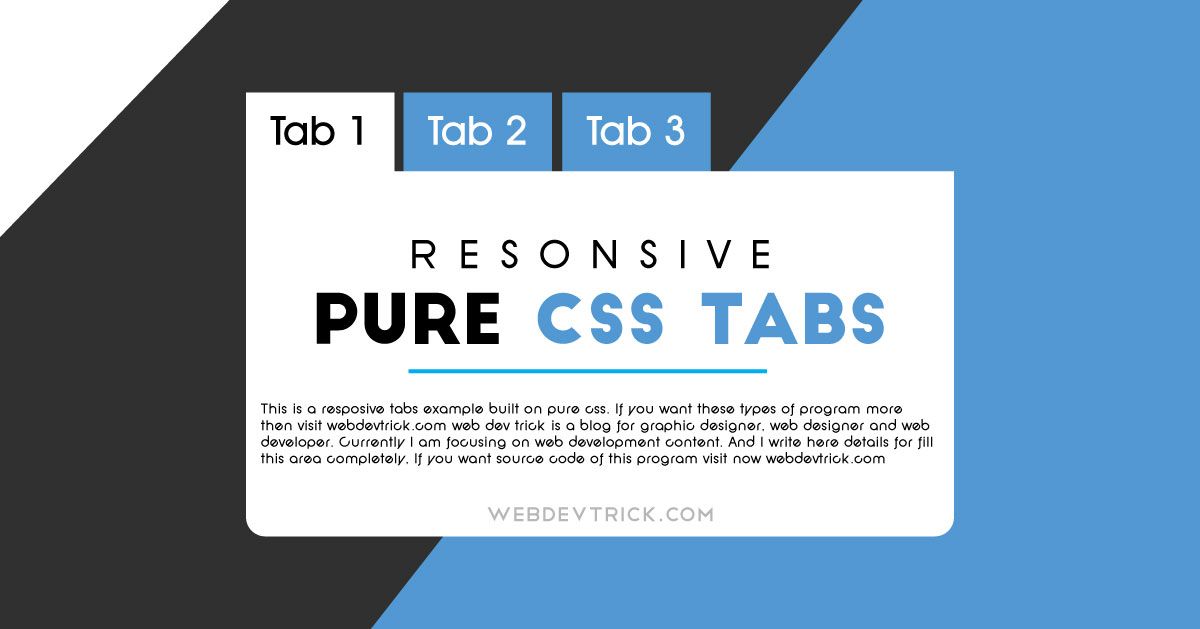
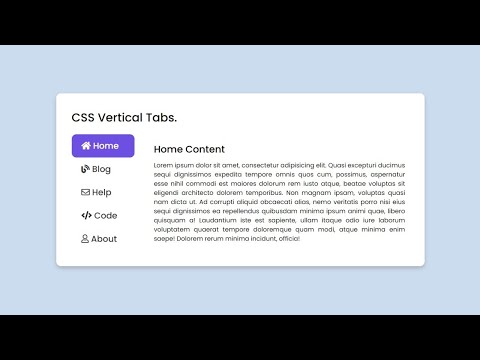
Tabs, CSS, Text Editor, Options Dialog Box
Twitter LinkedIn Facebook Адрес электронной почты
- Статья
- Чтение занимает 2 мин
This dialog box enables you to adjust default settings for indenting and tabs in the CSS editor.
To access this dialog box
In Microsoft Visual Web Developer, click Tools, and then click Options.
The Options dialog box opens.
In the left panel, expand the Text Editor node, expand the CSS node, and click Tabs.
If you have configured your environment settings for Web development, this element is not available unless you select the Show all settings check box. For more information about environment settings, see How to: Change Select Settings.
Note
Additional cascading style sheet (CSS) options can be found under the HTML Designer node, which is visible if the Show all settings check box is selected.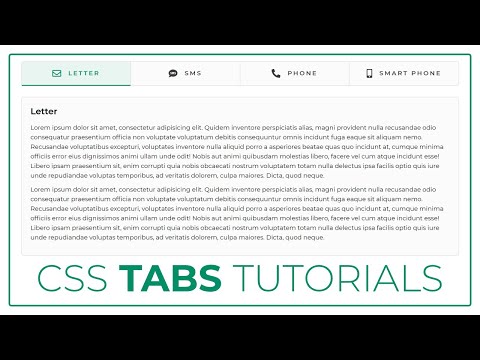
For more information about style sheets, see Working with CSS Overview.
Tasks
- Working with CSS Overview
UI Elements
Indenting
None
When this option is selected, new lines are not indented. The insertion point is placed in the first column of a new line.Block
When this option is selected, new lines are automatically indented. The insertion point is placed at the same starting point as the preceding line.Smart
When this option is selected, and with the Formatting Style option in the Format, CSS, Text Editor, Options Dialog Box set to Semi-expanded or Expanded, new lines are positioned to fit the code context. For example, lines enclosed between an opening brace ({) and a closing brace (}) are automatically indented an extra tab stop from the position of the aligned braces.
Tabs
Tab size
Sets the distance in spaces between tab stops. The default is four spaces.
Indent size
Sets the size in spaces of an automatic indentation. The default is four spaces. Tab characters, space characters, or both will be inserted to fill the specified size.Insert spaces
When selected, indent operations insert only space characters, not tab characters. If the Indent size is set to 5, for example, then five space characters are inserted whenever you press either the TAB key or the Increase Indent button on the Formatting toolbar.Keep tabs
When selected, indent operations insert as many tab characters as possible. Each tab character fills the number of spaces specified in Tab size. If the Indent size is not an even multiple of the Tab size, space characters are added to fill in the difference.
 The default is four spaces.
See Also
Reference
General, CSS, Text Editor, Options Dialog Box
CSS Specific, CSS, Text Editor, Options Dialog Box
Tabs, HTML, Text Editor, Options Dialog Box
Display, HTML Designer, Options Dialog Box
CSS Editor
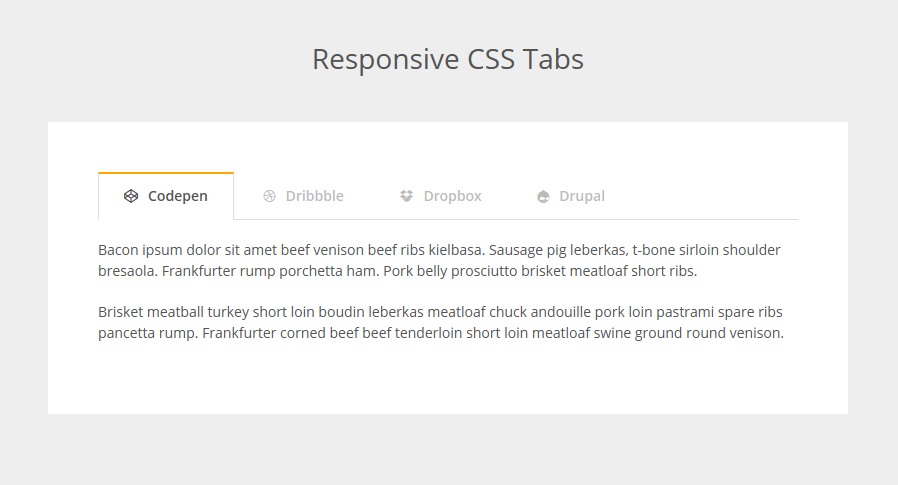
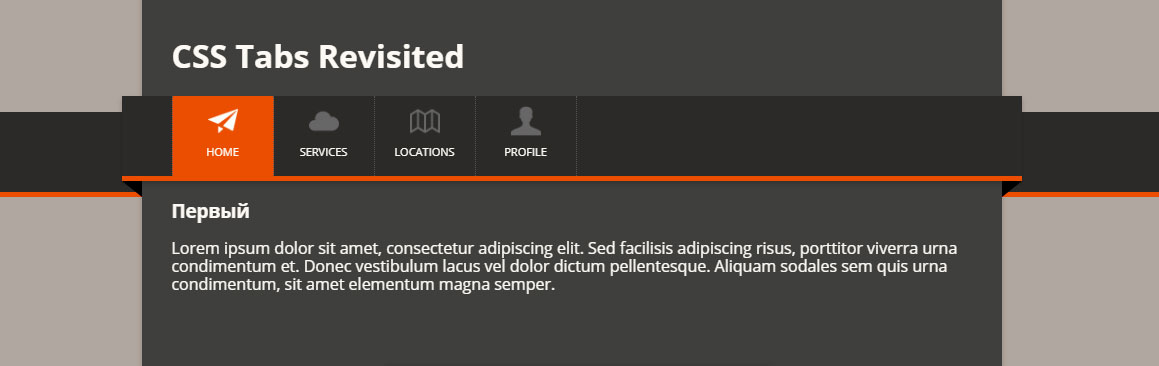
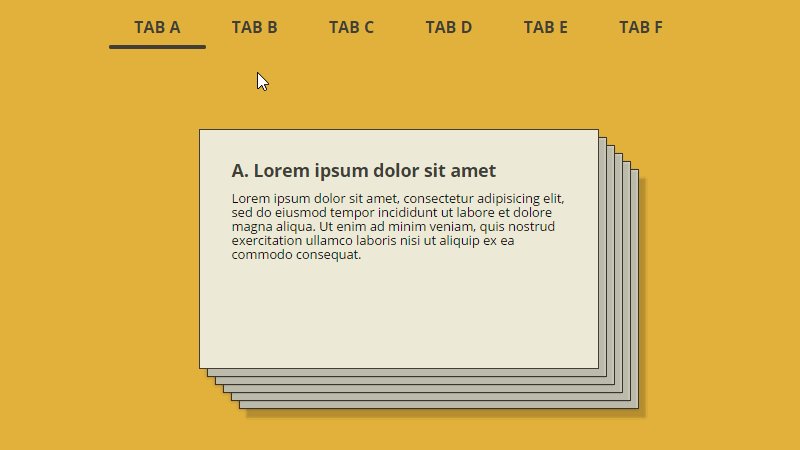
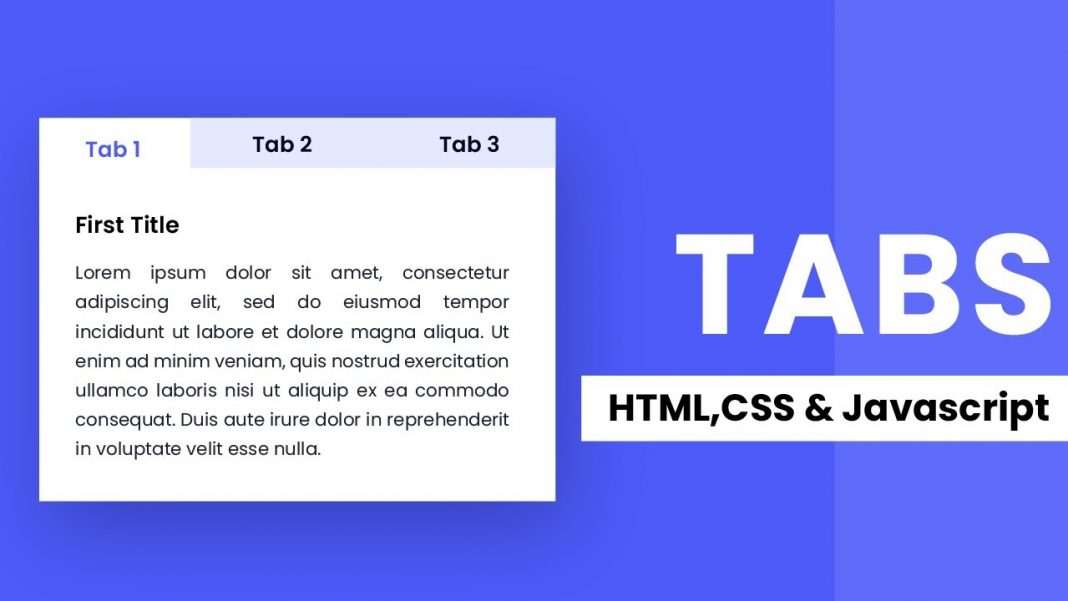
Вкладки на чистом CSS: доступные и удобные для клавиатуры
Компоненты интерактивных вкладок часто создаются с помощью JavaScript, но с помощью Flexbox вместе с некоторыми переключателями мы можем создать компонент вкладок на чистом CSS, доступный и дружественный к клавиатуре.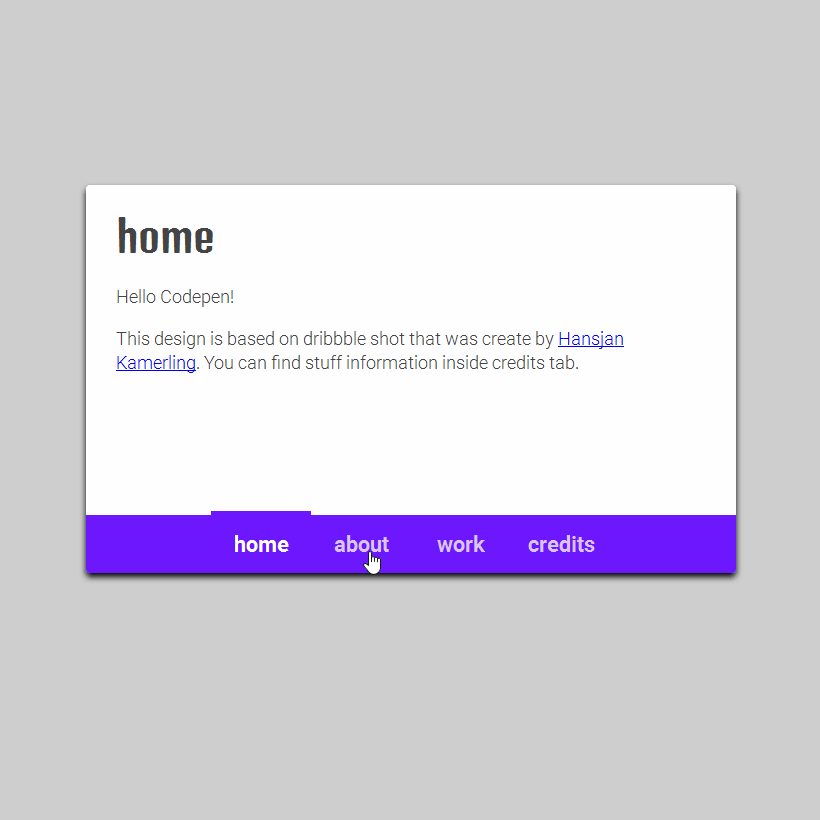
Скелет HTML для компонента вкладок будет выглядеть следующим образом:
Контент в первой вкладке
Содержимое вкладки...
Вкладка №2
Содержимое вкладки...
Третья вкладка "Контент"
Содержимое вкладки...
Язык кода: HTML, XML (xml)
Обратите внимание, что есть три вкладки, каждая из которых включает радиовход и соответствующую метку. Вы можете включить больше вкладок, просто не забудьте изменить размер в CSS, чтобы он подходил по мере необходимости.
Вот базовый CSS, необходимый для интерактивной функциональности:
Кодовый язык: CSS (css)
.tabs { дисплей: гибкий; flex-wrap: обернуть; } .радиотаб { положение: абсолютное; непрозрачность: 0; } .этикетка { ширина: 100%; фон: #e5e5e5; курсор: указатель; } .метка: активный { фон: #ccc; } .панель { дисплей: нет; ширина: 100%; } .input: проверено + .label + .panel { дисплей: блок; }
Опять же, это урезанная версия CSS, которая не включает CSS, добавленный из эстетических соображений. Обратите внимание на следующие функции в приведенном выше CSS:
- Использует Flexbox для макета вкладки
- Радиокнопки расположены вне потока страницы (абсолютно) и не видны (но все еще доступны)
- Метки имеют приоритет и видны с использованием цветов
- Все панели отображаются в формате
: по умолчанию нет, кроме той, которая связана с выбранной в данный момент радиокнопкой .